From canvas to approved in three steps.
Brand approval is iterative. Atelier is built around that reality — each step has a clear gate, and the final output is a version-tagged export with a full record of who reviewed what.
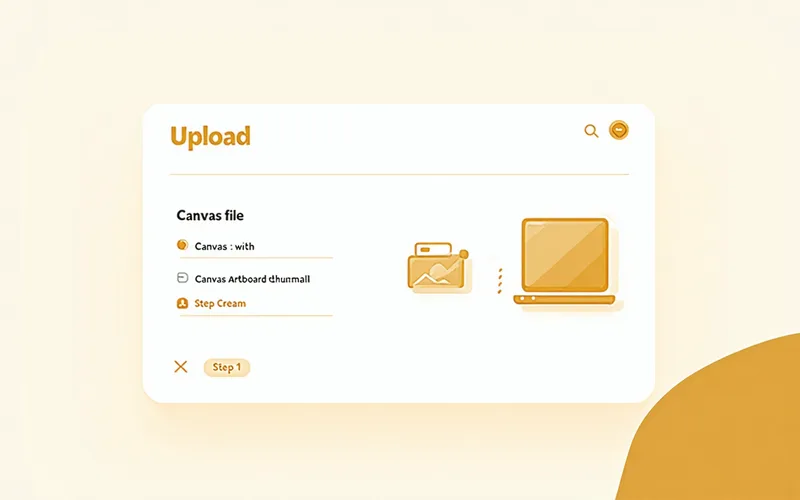
Upload or create your canvas
Start from a blank canvas or import your existing design file. Atelier preserves your full layer structure on import — groups, artboards, text blocks intact. Once uploaded, this becomes version-zero: the start of a permanent, named history that grows with every save.
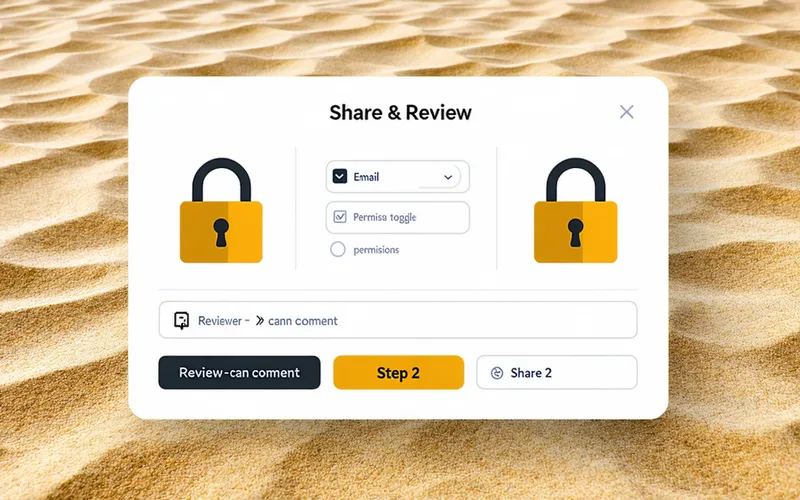
Lock layers, share with reviewers
Before you share, decide what's decided. Lock the brand logo zone, the approved campaign hero, the typography stack you've already signed off on. Then share a reviewer link — stakeholders see every locked element clearly marked and can comment directly on any frame, but can't touch what you've already finalized.
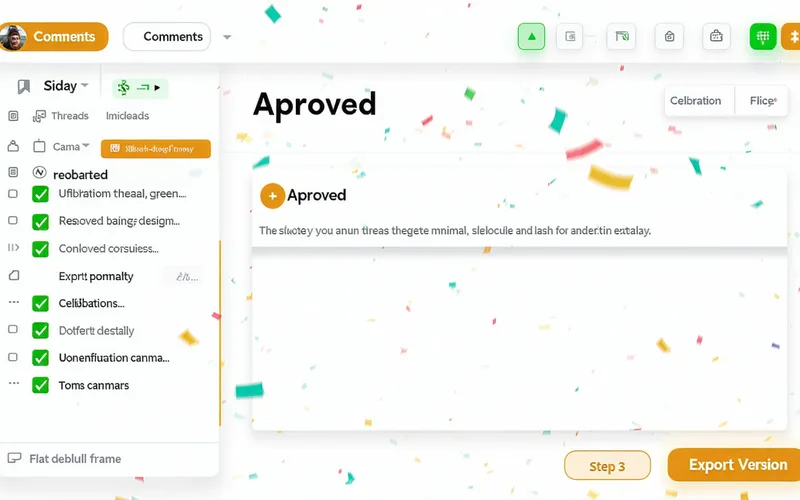
Resolve comments, ship the version
Address each comment thread in the canvas where it lives. Mark threads resolved as you go. When the last thread is closed, mark the canvas approved and export — a clean, comment-free file tagged with the version label, the approval timestamp, and the name of whoever signed off. That's the file that goes to print, to the developer, or to the client.
Walk through it on your own canvas.
Request early access and we'll onboard you directly — bring a real project and we'll run the full workflow with your files, your reviewers, and your approval chain.
Request Early Access